IIS 架設 VUE 站台
IIS 架設 vue 站台
前言
待補!
準備
IIS
URL Rewrite
下載網址:https://www.iis.net/downloads/microsoft/url-rewrite
安裝完畢後在進行下一步
開始
第一步 建立web.config
為了讓 IIS 能夠配置 vue-router
我們需要一份 web.config
官方範例 Vue Router
1 | |
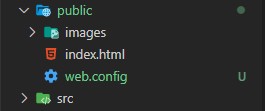
並將此檔案儲存至 vue.js 專案的 public 底下
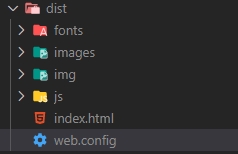
這樣一來,每次建置的時候就會自動將 web.config 產生至 dist 資料夾
第二步 建置專案
1 | |
第三步 設定 IIS
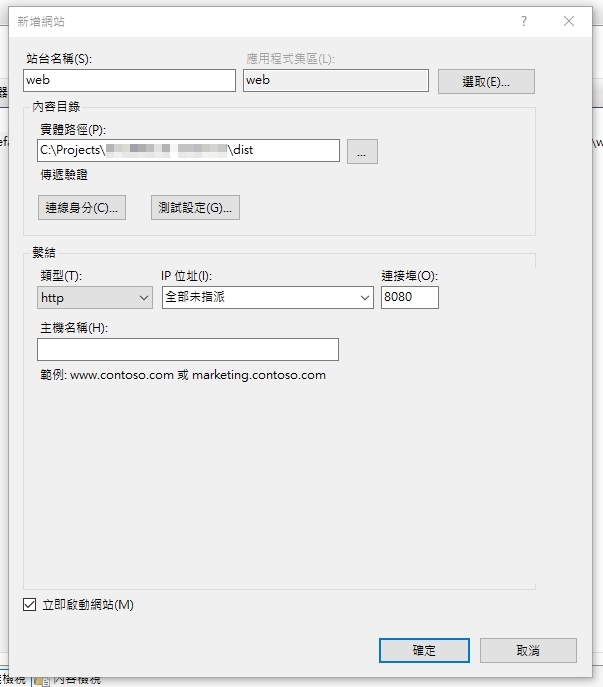
實體路徑需指定到佈署產生的 dist 資
如果沒有domain主機名稱可為空
設定完成後,即可測試 vue 站台是否架設成功
Thank you! 😄
參考
本文作者: 我的名字叫劉穎,也可以叫我 Alan
本文連結: https://hi-alan-liu.github.io/blog/IIS-VUE/
版權聲明: 本站所有文章除特別聲明外,均採用 CC BY-SA 4.0 協議 。轉載請註明出處!