Docker Desktop on Windows (ruby on rails)
Docker Desktop on Windows (ruby on rails)
前言
因工作環境需求必須在 Windows service 2019 佈署 ruby on rails
但 capistrano 無法支援佈署至 windows 因此選擇使用 docker desktop 解決問題
準備
註冊 Docker hub
註冊網址:https://hub.docker.com/
下載 Docker Desktop
下載網址:https://docs.docker.com/desktop/install/windows-install/
將 Docker Desktop Containers 切換為 Linux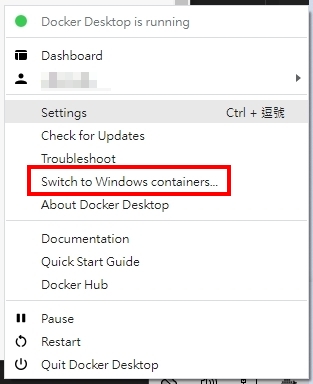
*出現 Switch to Windows containers 代表當前為 Linux
安裝完畢後在進行下一步
開始
一、建立 Dockerfile
參考 Docker docs - Compose and Rails 建立 Dockerfile
1 | |
我在 docker desktop v4.10.1 照步驟走 docker run 無法正常啟動
因此我照著 Docker 上的 Windows 教學稍微改版了一下
1 | |
範例 ruby 為 2.4.4
之後根據需安裝的套件新增指令
1 | |
這邊新增了安裝 imagemagick 及 sql server 需要的套件
並加入指令 bundler 解決無法 bundle 的問題
以上的 Dockerfile 主要有用到的指令說明如下
FROM: 使用 ruby 版本為 2.4.4
RUN: RUN 指令後面放 Linux 指令,用來執行安裝和設定這個 Image 需要的東西
WORKDIR: 指定工作目錄
COPY: 複製檔案
ADD: COPY 進階版,可用於自動解壓縮的場合
ENV: 設定環境變數
CMD: docker run 執行 bash 指令`
設定好 Dockerfile 接著就是打包產生 Image
二、打包 Docker Image
在和 Dockerfile 檔案同層的資料夾底下輸入 docker build 指令
1 | |
docker_test 為 Images Name
1.0.0 為 Tag
--no-cache 為避免 Dockerfile 被 cache 住,造成 build 到未修改過的 Dockerfile
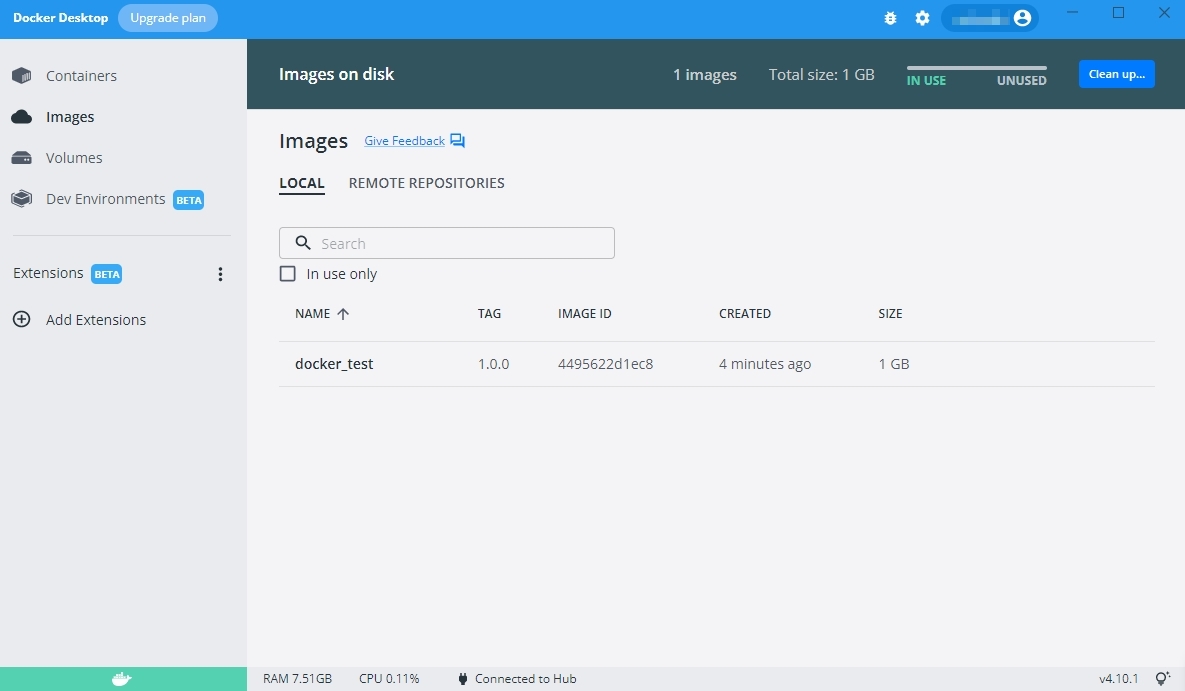
build docker image 成功之後可以從 Docker desktop 看到
或者輸入以下指令
1 | |

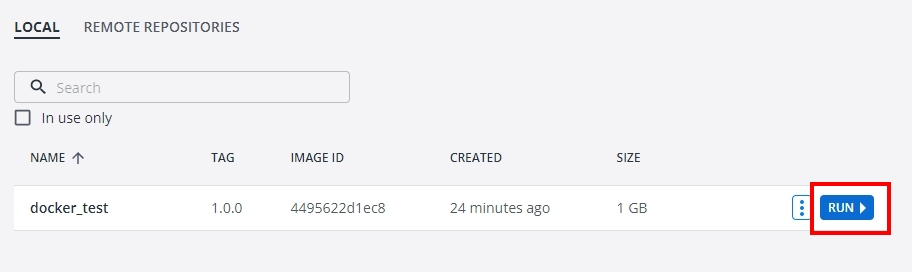
三、執行 Docker Image
輸出好 Image 接著在 Docker Desktop 按下 RUN
或輸入以下指令
1 | |
基本上運行到這裡就順利完成囉 !
四、刪除 Docker Image
如果有不需要的 Image 可輸入以下指令刪除
1 | |
補充、Docker compose
另外再本機 run 也可以使用 docker compose
建立 docker-compose.yml
1 | |
1 | |
MyProjectName 為 Image Name
1.0 為 Tag
因我的 database 是外連所以無補上 database 的資訊
建立好 docker-compose.yml 即可輸入以下指令
1 | |
等指令跑完
就完成了 docker image 及 docker run
今天的教學就到此 ~
Thank you! 😄
本文作者: 我的名字叫劉穎,也可以叫我 Alan
本文連結: https://hi-alan-liu.github.io/blog/Docker-Desktop-on-Windows-ruby-on-rails/
版權聲明: 本站所有文章除特別聲明外,均採用 CC BY-SA 4.0 協議 。轉載請註明出處!